How to Make Your Own Delicious Kombucha in 7 Days

There’s nothing so delicious yet hilariously overpriced as kombucha.
If you roll into your local Whole Foods and go to the hippie drinks section, expect to pay $4-6 for a 16oz bottle of it.
I’ve always loved the flavor—tea with a bite to it plus some fruit and herb notes. But I’ve never loved how much it costs to get it, or how weak it is.
So I started making my own. What I’ve learned is that it’s stupidly simple to make , you can make it in a week , and you can make it way stronger than what you get in a store.
The best part? The setup I’m going to describe will churn out a gallon of kombucha a week(which would normally cost you $30-50), and you’re making it for pennies after the first setup (for which you can order everything online).
On top of that, your kombucha will taste better than store-bought. I’ve never had someone tell me that they prefer retail to the kombucha I give them, and you get total control over what flavors you use (mango habanero, anyone?).
Whether you’ve had kombucha before, or you’re curious about trying it for the first time, this guide will take you from 0 to delicious kombucha in a week.
Let’s get brewing.
Background: Kombucha Health Benefits
If you don’t care about the health benefits to kombucha, skip to the instructions.
I won’t waste your time, there are absolutely no well-researched health benefits specific to drinking kombucha.
When you read about kombucha on other sites and they say it can:
- Prevent cancer
- Make you lose weight
- Improve your skin
- Give you more energy
- Increase your sex drive
- Fix gray hair
- Cure stomach pain
- Rebuild your immune system
- Decrease allergies
- Make beautiful men/women fall in love with you
These are... stretches to say the least. And they're grasping at confirmation bias to get you to buy stuff from them.
But, there is an argument for how kombucha might be good for you, and it applies more to homemade kombucha than store-bought.
The reason that kombucha carbonates and tastes a little bitter is that it’s fermented by a living culture called a SCOBY (Symbiotic Culture of Bacteria and Yeast). This fermentation process introduces a significant number of beneficial bacteria to the tea, making it a potent probiotic.
Consuming probiotics (which are also found in yogurt, sauerkraut, kimchi, kefir, raw milk, nato, pu-erh tea, miso, and some other places) introduces bacteria to your system, especially your gut, that aid in overall bodily function.
Introducing probiotics to your system has been shown to:
- Reduce LDL (bad) cholesterol
- Increase HDL (good) cholesterol
- Lower high blood pressure
- Improve your immune system
- Reduce inflammation
- Help manage eczema
- Ease upset stomachs and diarrhea
- Help you get your Vitamin K, Folic Acid, and Vitamin B12
- It can even make your vagina healthier (if you have one, of course)
Part of how probiotics help your system is by replenishing good bacteria you’re killing off with other habits.
Our bodies sustain roughly as many bacteria as human cells, but certain lifestyle habits kill off those bacteria.
Doing any of these can negatively impact your microbiome , and give you reason to add probiotics to your diet:
- Eating sugar
- Eating gluten (wheat, barley, rye)
- Drinking alcohol
- Eating anything processed (cookies, chips, packaged meals, anything you have to microwave)
- Eating meat that’s been fed antibiotics (meat at Whole Foods is antibiotic free)
- Taking pharmacy Antibiotics
- Consuming artificial sweeteners (Splenda, sweet and low, and yes stevia too)
- Using antibacterial soap
- Drinking chlorinated water (frequent in tap water)
- Eating processed soy (edamame good, unfermented soymilk bad)
This is where kombucha’s health benefits come from. By being a delicious source of probiotics, it can repair the damage you do through other habits (because let’s be honest, you’re not going to stop doing everything on that list).
BUT, it must be unpasteurized. If you get pasteurized kombucha, which some brands will sell, then all the probiotics have been killed off and you’re getting slightly sweet slightly bitter fizzy tea.
Luckily, the homemade kombucha won’t be pasteurized, so you’ll get all the juicy probiotic benefits.
All of that said, I would drink it even if it didn’t do anything. It tastes great.
And who knows, those probiotic benefits might just make you cancer immune and cause beautiful men and women to fall in love with you.
Getting Your Kombucha Supplies
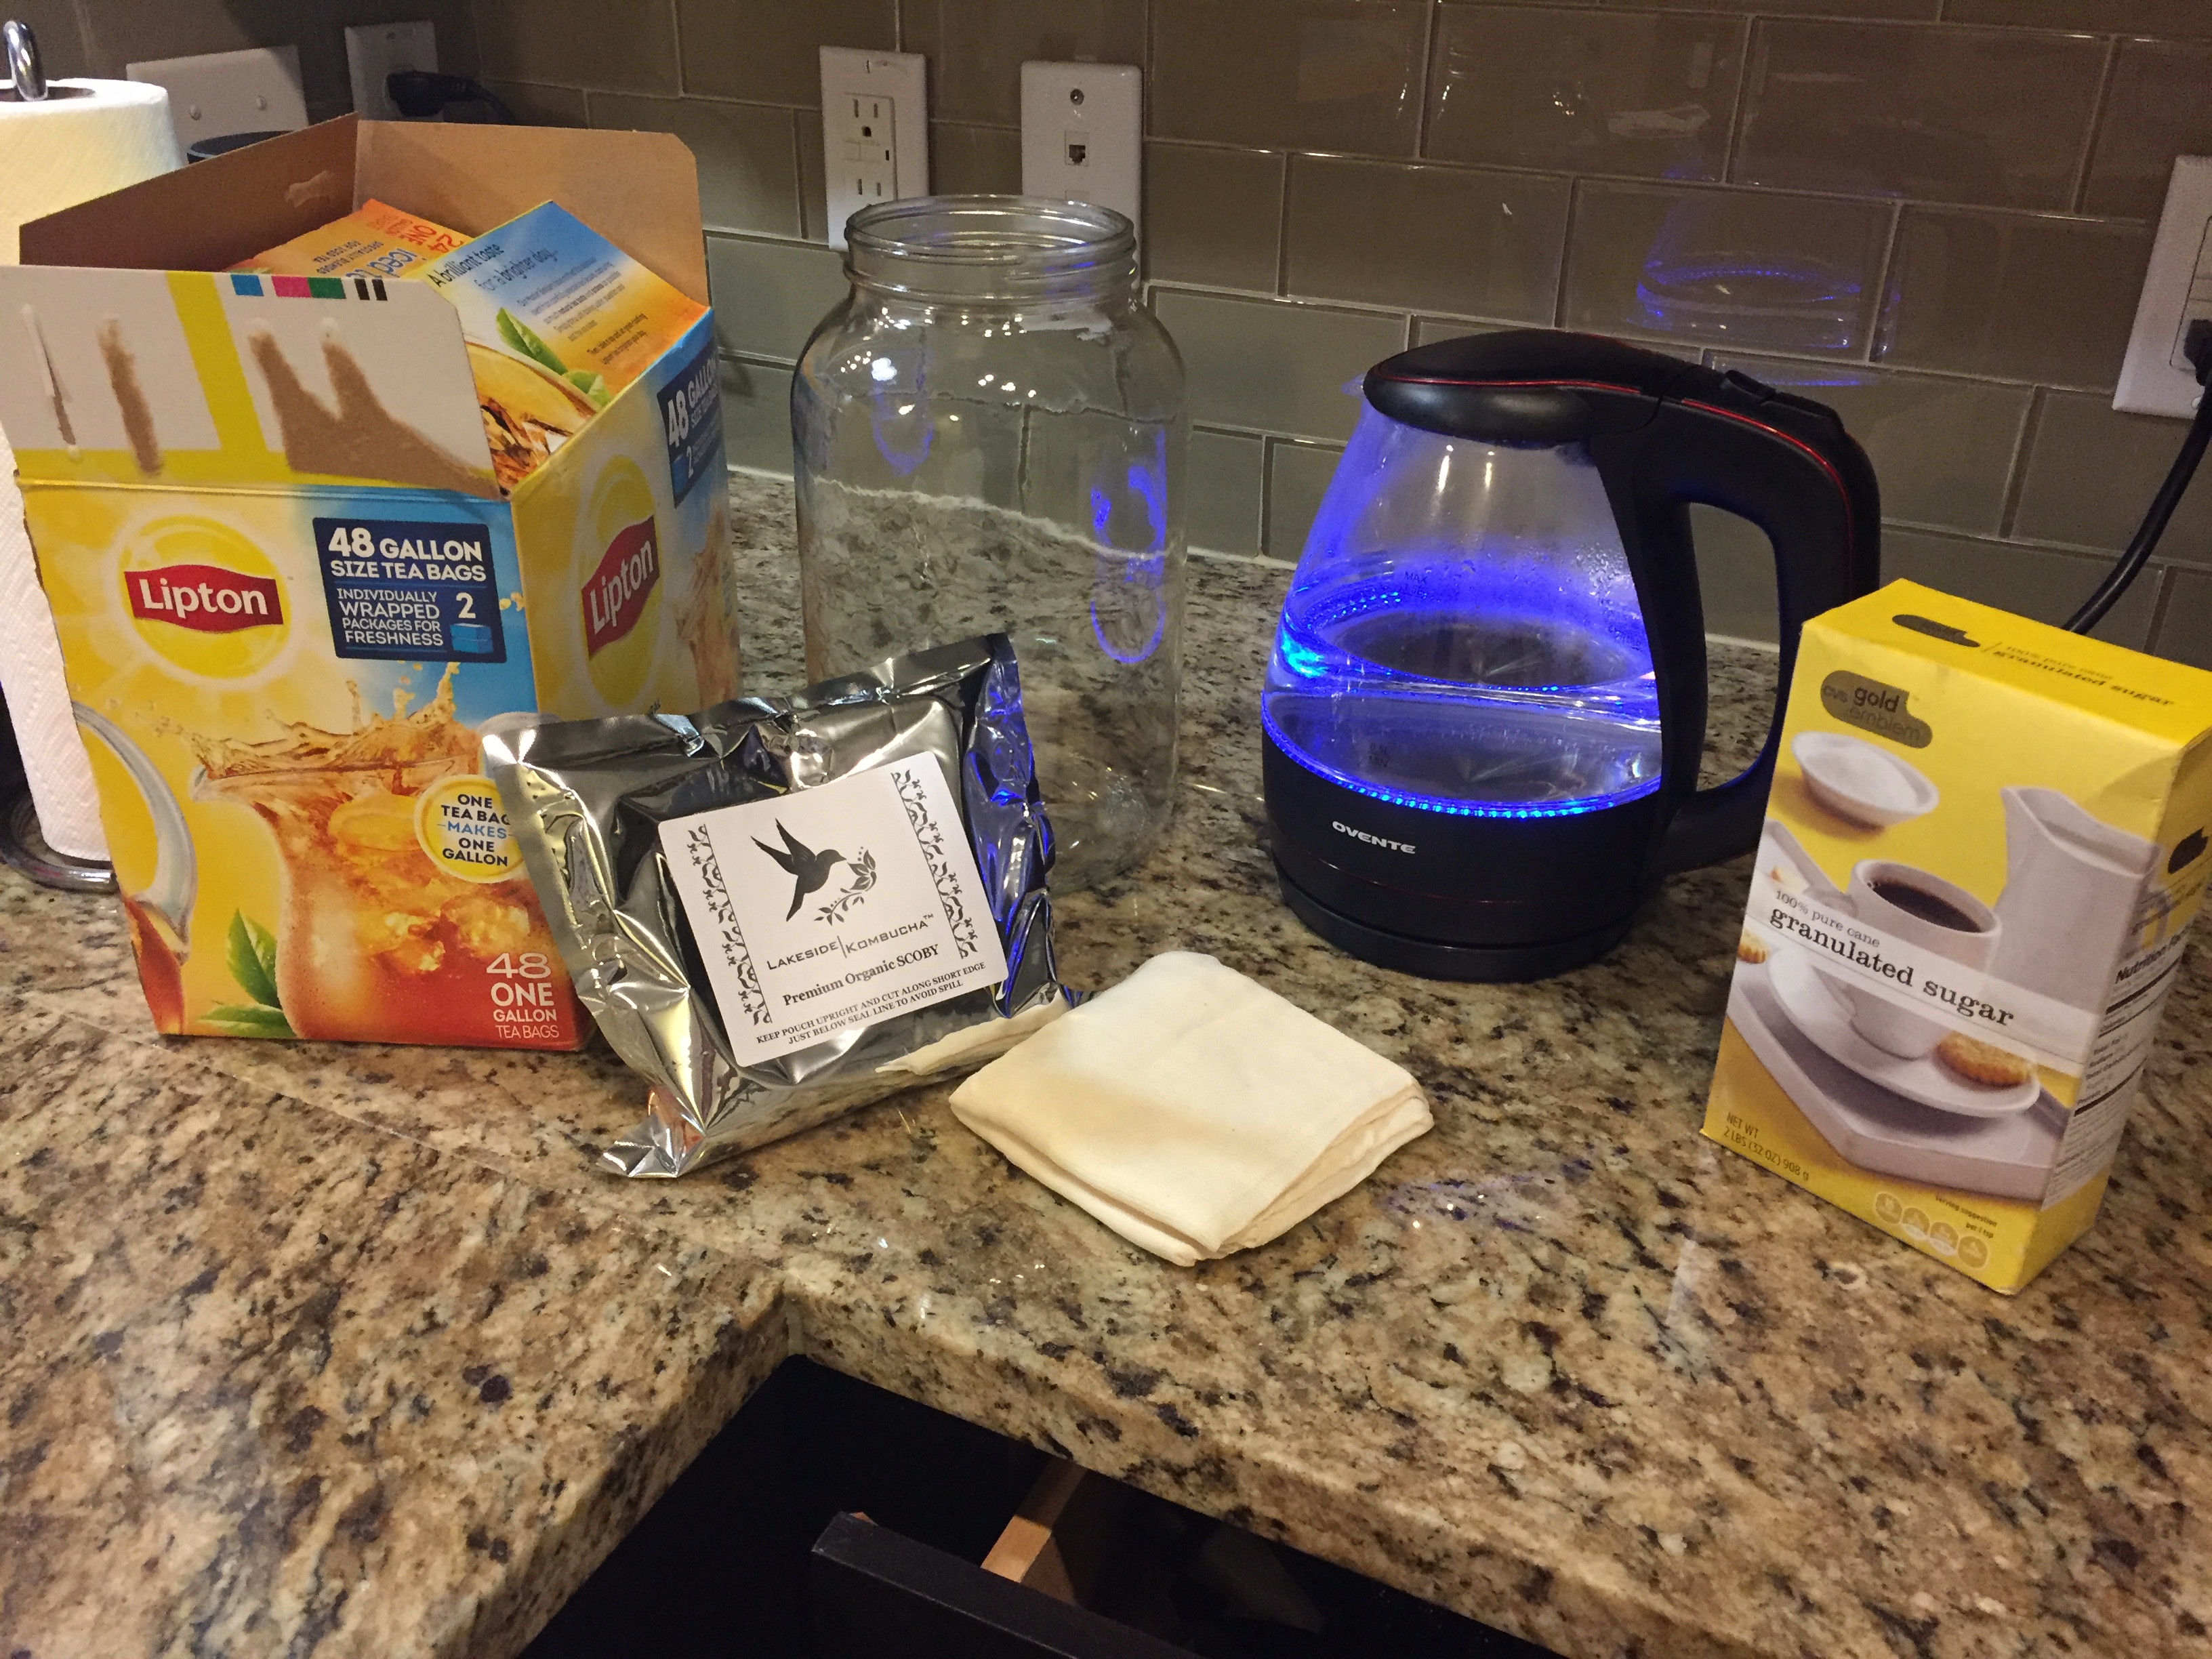
Before you can brew, here’s what you must buy to make your kombucha (unless you already have some of them):
- A SCOBY
- A gallon-sized glass fermenting jar
- Cheesecloth
- Black tea
- Plain sugar
- Additional jars for secondary fermenting
SCOBY. The “SCOBY“ is the living bacteria culture that feeds off of the sugar in your kombucha and ferments it. The health and size of your SCOBY will decide how fast your tea ferments, so you want to make sure you have a good one.
I’ve tried every kind that you can order on Amazon, and this one is the best. It fermented the tea twice as fast as any others, grows quickly, and I’ve never had one arrive dead (I’ve ordered 5 now).
Gallon-sized glass fermenting jar. This is what your SCOBY will live in as it turns your tea into kombucha. The glass helps make sure that no odors get transferred from the container, and gives you a clear view so you can see when the tea starts to change color. It also lets you watch for, heaven forbid, any mold on your SCOBY.
Cheesecloth. The kombucha ferments in open air, but you don’t want any flies or other bugs getting in and ruining it. You’ll be putting this over the jar to make sure the tea can breathe while still being protected.
Black tea. I drink a lot of tea, and though I wanted to get fancy and use teas like pu-erh, oolong, rooibos, etc. I’ve found that black tea works the best. And it doesn’t have to be good black tea, you can use the gallon-sized Lipton tea bags.
Plain sugar. The sugar is what feeds the SCOBY and allows the tea to ferment. You must use real sugar. No stevia, no splenda, nada. Don’t worry about the sugar, most of it gets consumed by the SCOBY so the final product has very little sugar in it.
Additional jars for secondary fermenting. After the first fermentation, you’ll move the kombucha into a sealed jar for the secondary fermentation. By putting it in a sealed container without the SCOBY, it starts to carbonate, and will consume any sugars you put in with it causing it to take on those flavors.
You could use another gallon sized jar, but I like to use half-gallon ones so that if I want to make two different flavors from a batch I have that option.
Making Your First Kombucha Brew
The first brew will be a little different, but after this your kombucha machine will be running and later brews will only take a few minutes to set up.
Step 1: Brew the Tea
Simple enough. Boil a quart of water, drop in the massive tea bag, let it sit for 5 minutes, then take the teabag out.
Step 2: Dilute the Tea
If you read closely you’ll notice that these tea bags make strong tea that you need to dilute afterward. That helps us, though, because you need to cool it down anyway before you add the SCOBY.
Add room temperature and cold water to the tea until it feels like it’s about room temperature. It needs to be close to the temperature of the SCOBY or else it could kill it (though, this has never happened to me).
Step 3: Add Sugar
With your gallon of tea, add in a cup of sugar. Yes, a cup. Don’t freak out about it, most of that sugar is going to get consumed.
Once the sugar is in, shake or stir the jar to make sure everything dissolves
Step 4: Add the SCOBY
Now you need to introduce the SCOBY. Cut open the bag it came in and add it to the tea, including all the fluid that came with it. This is your “starter fluid” and you need it to help get the brew going.
Don’t worry about perfectly floating the SCOBY on your tea, I simply dump it in and let it do what it wants.
Step 5: Cover
Then you take your cheesecloth, put it over the top of the jar, and secure it with a rubber band or by cutting out the middle of the plastic lid that came with the jar.
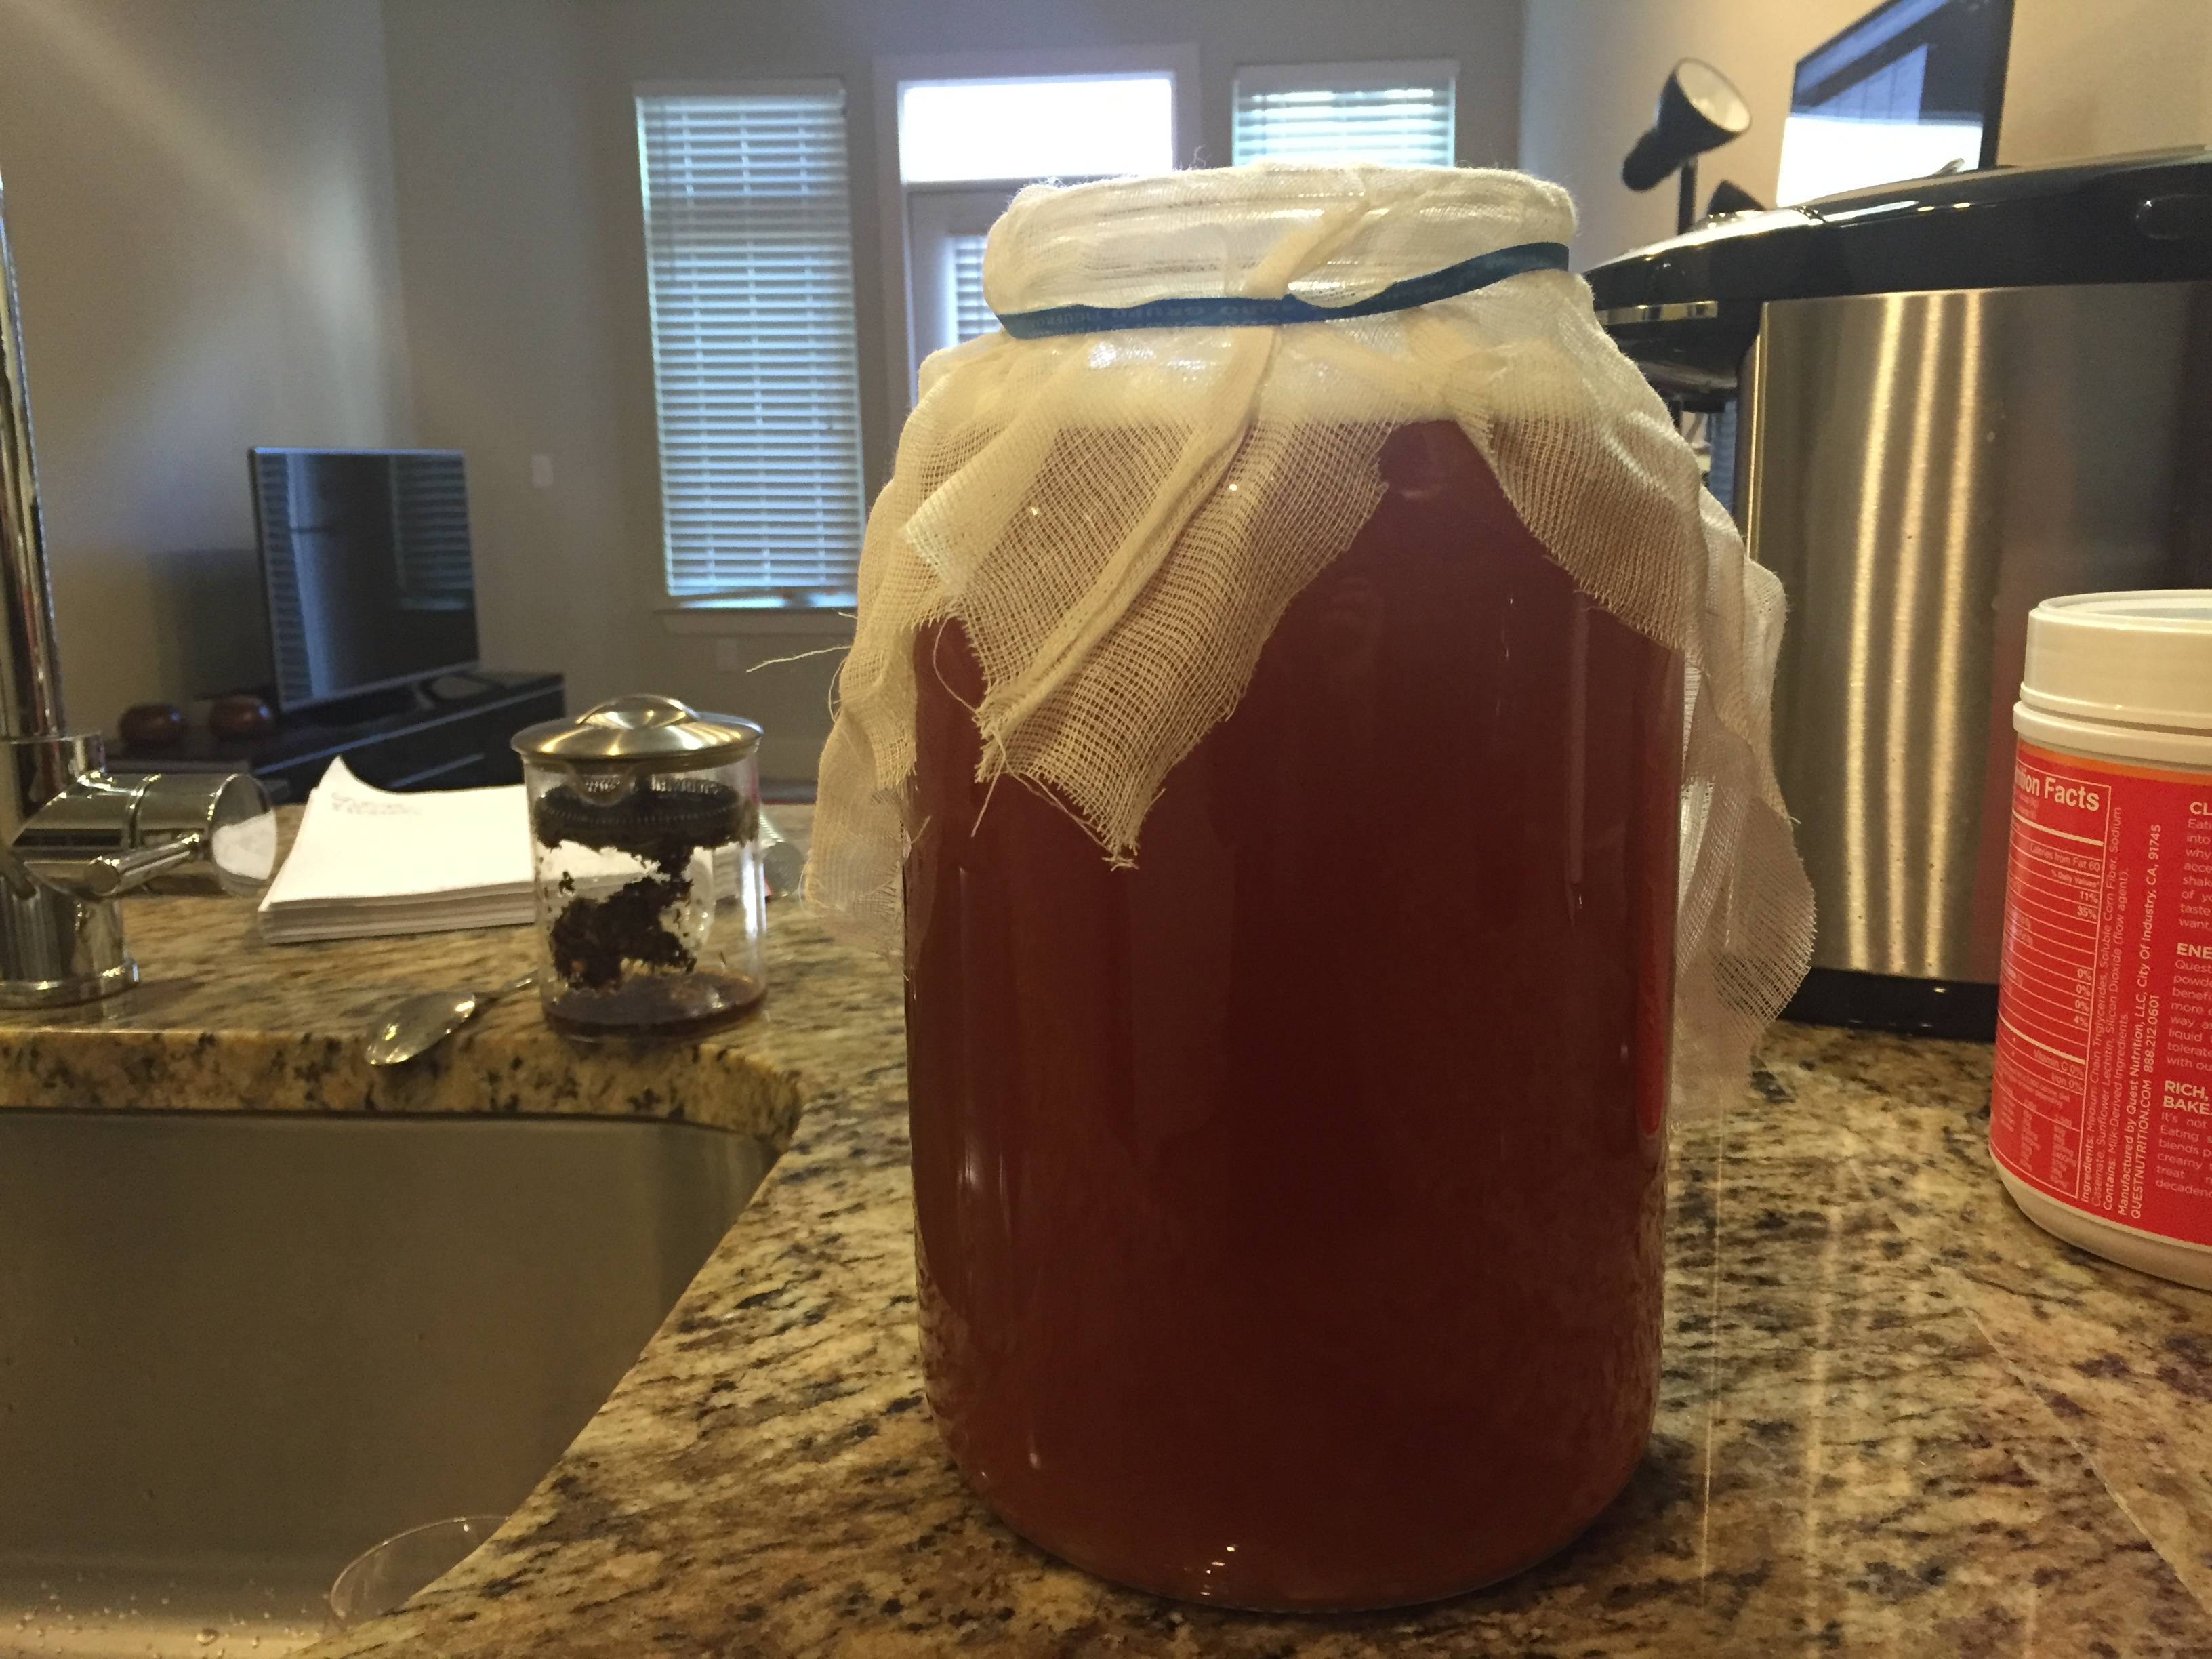
With it covered, leave it on your counter somewhere out of direct sunlight, and then…
Step 6: Wait
It should take about 5 days to get your kombucha to a good tasty level. Taste it each day after day 3 to see how it tastes (you might like it weaker or stronger) and take note on when it got to a good flavor for you.
To taste it, put in a clean straw, plug the tip, and pull it out and then pour it in your mouth. It’s better to not risk introducing any other bacteria from your mouth into the system.
While you’re waiting, you might like reading about making bulletproof tea, or not eating for 5 days.
Secondary Fermentation and Flavoring Your Brew
With the first fermentation done, you can start flavoring it while starting your second brew
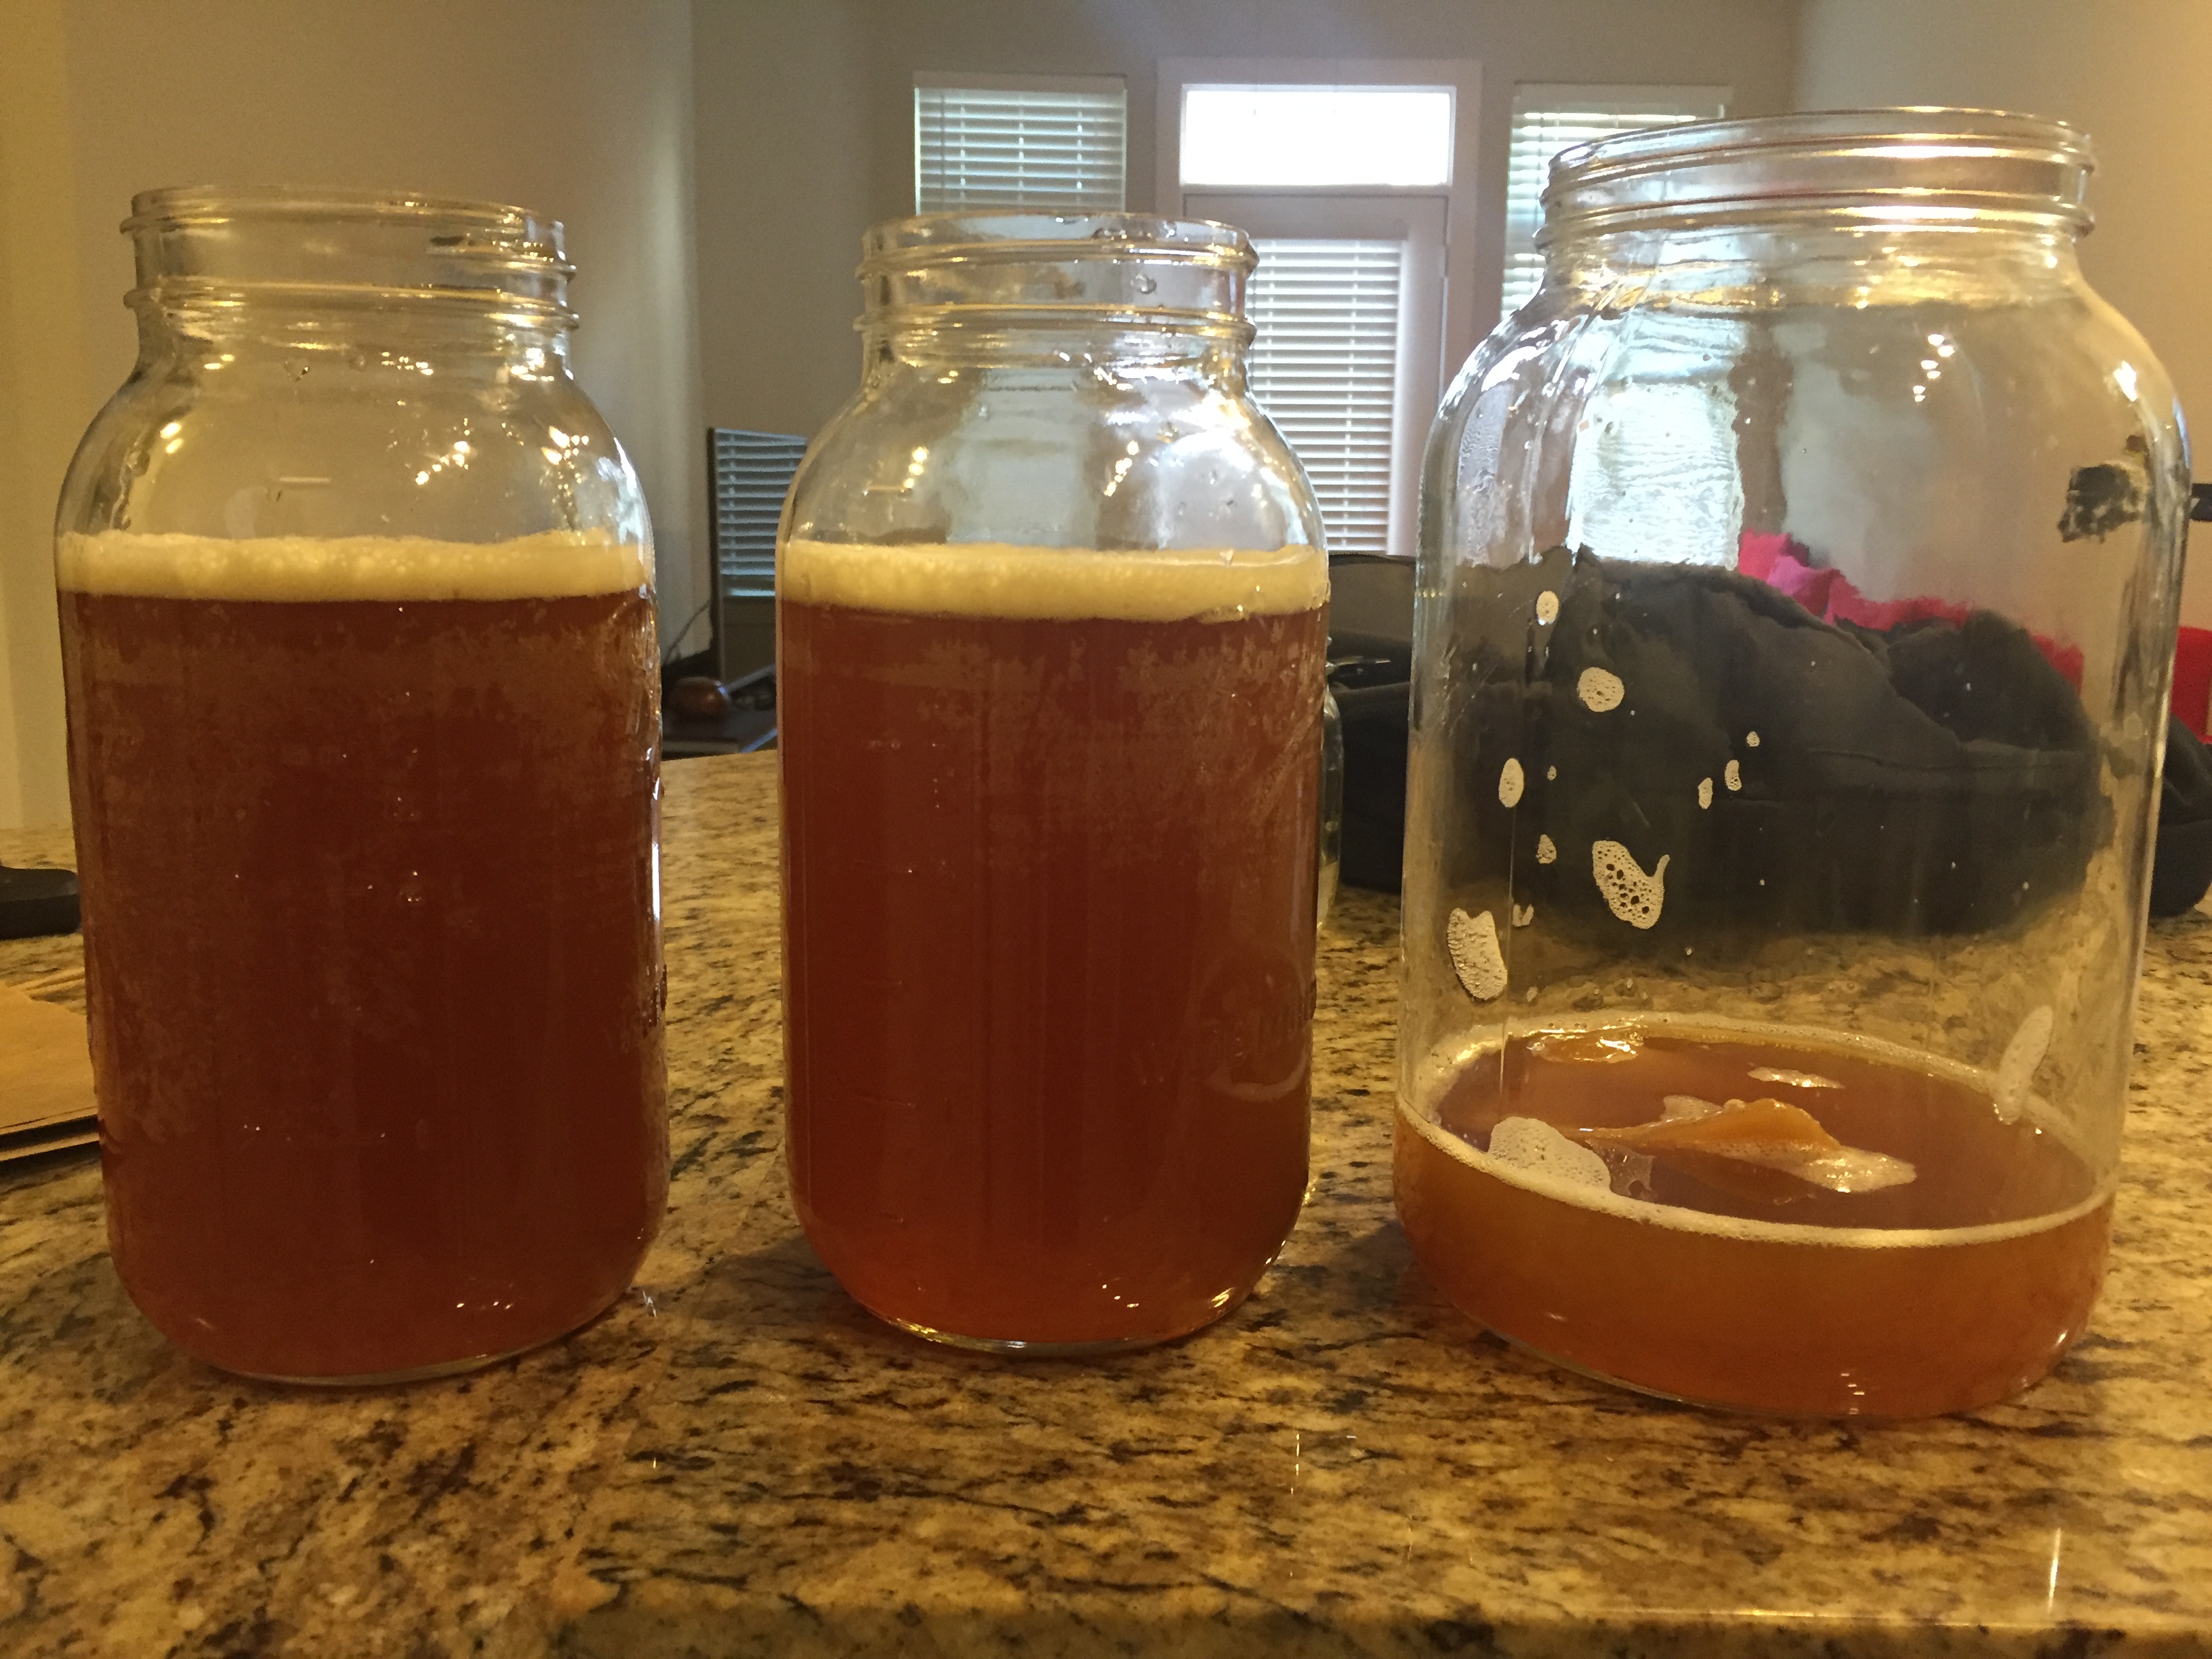
Step 1: Transfer to Secondary Fermenter
Take 90% of your fermented kombucha, and pour it into your secondary fermentation jar(s).
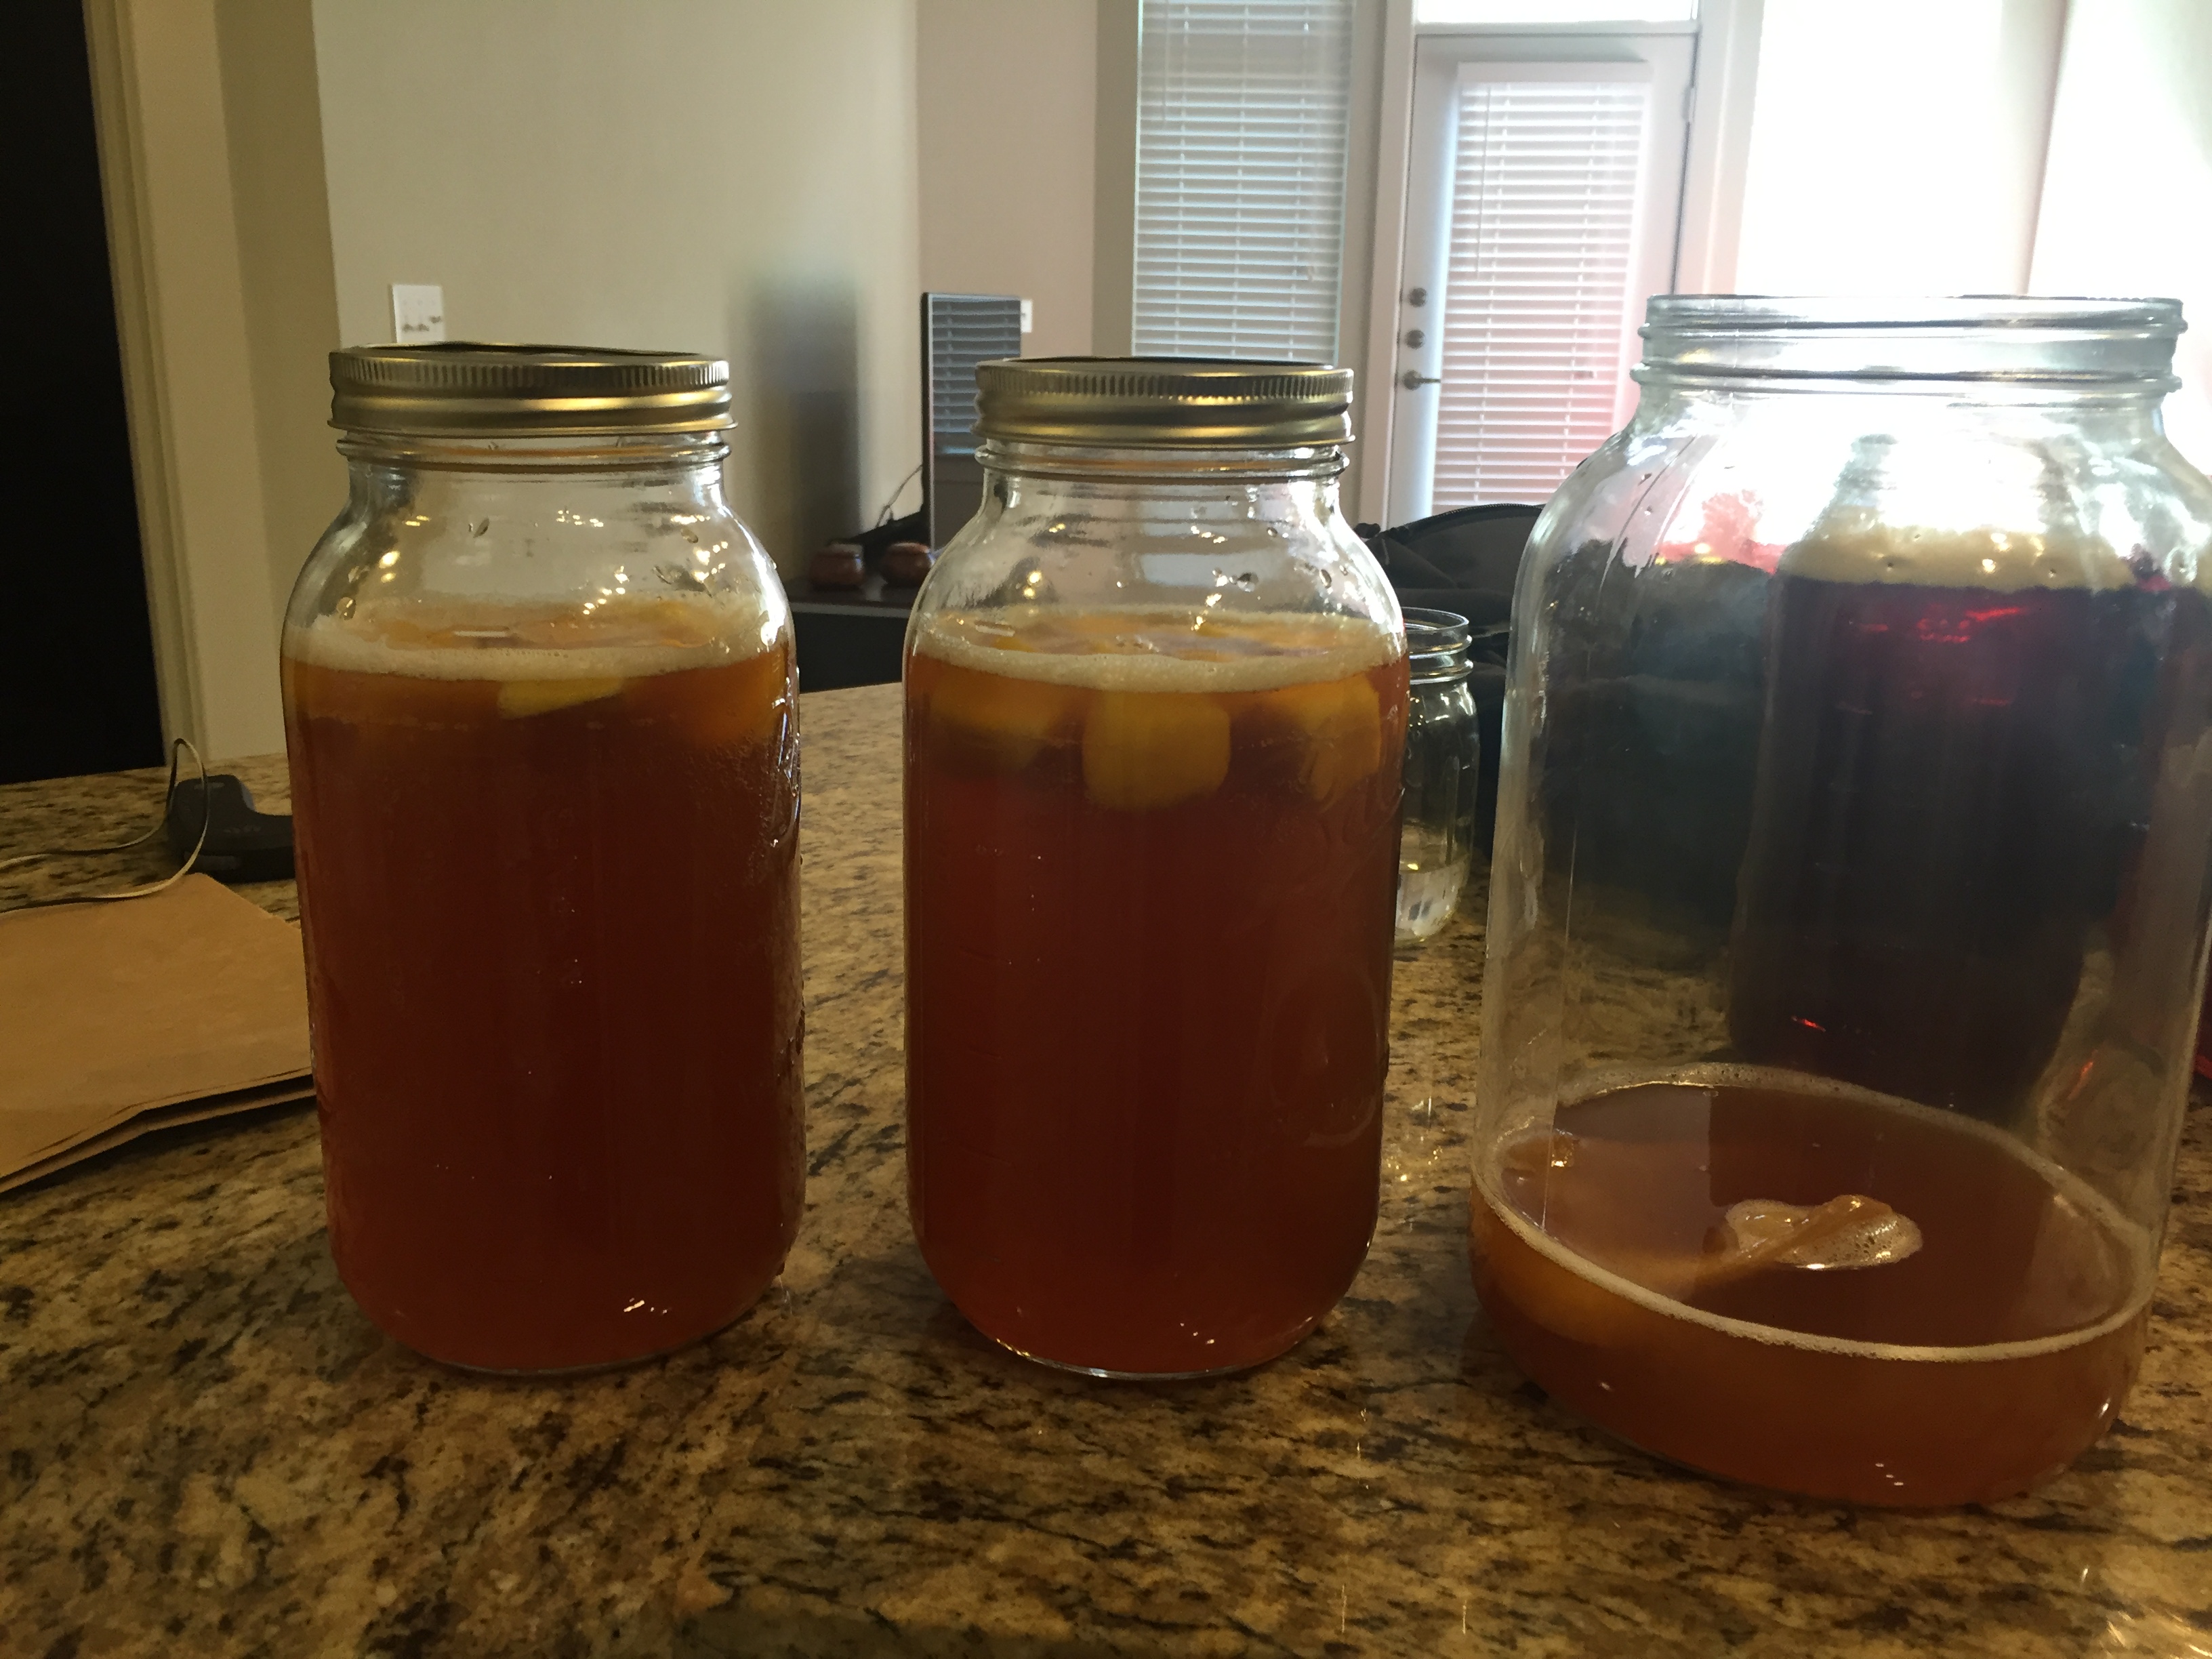
Step 2: Add Flavor
If you want, you can leave your kombucha unflavored and close the secondary fermenter now, but I like adding a bit of extra taste to it.
Anything that you drop in will affect how the kombucha tastes, so go wild! You can put in obvious flavors like fruits and honey, but you can also add hot peppers, spices, herbs, and more.
If you want some ideas, pick up a recipe book, or do what I do and go to grocery stores and take pictures of the kombuchas they’re selling to get ideas.
The easiest way though is to simply add some fruit. I’ve had the best luck with mango and grapefruit (though be careful with grapefruit, it makes it SUPER carbonated).
Step 3: Start Next Kombucha Brew
With your main fermentation jar 90% empty except for the SCOBY and some remaining kombucha (this is your starter fluid), you can follow steps 1-6 in the last section over again to get the next brew going!
The best part: this one should go even better now that your SCOBY is “warmed up.”
Step 4: Seal and Wait Some More
With the flavor in, seal up the secondary fermenter (so no air gets in) and let it sit on the counter for a couple of days.
Be careful here. If you leave it for too long, it will explode and send glass and kombucha everywhere. I’ve only had this happen once, but for a brief second, I thought someone had fired a gun in my kitchen.
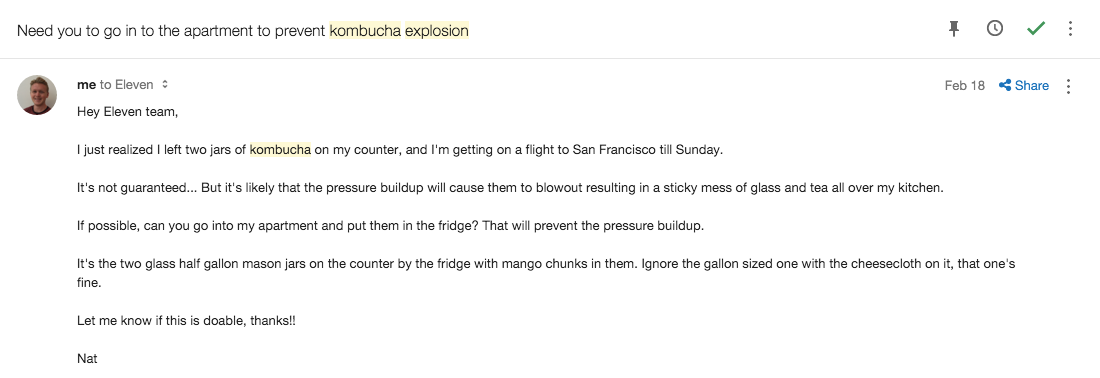
I also recently left on a trip and forgot to put it in the fridge (refrigerating it will stop the carbonating), and I had to send this email to my apartment managers:
Step 5: Refrigerate and Drink!
After a couple of days of carbonating and soaking in the flavor, your kombucha is ready to drink!
It’ll taste best cold, so throw it in the fridge for a bit (this will also stop the carbonating).
And when it’s ready, enjoy!